Marine and Safety Tasmania
Mooring Geographic Information System
User Manual
Updated Nov 2020
Contents
Sign in to MAST Geographic Information System 3
Search by Registration Number 7
Search by Marine Farm Lease Reg # 8
Modifying existing sketches 11
Key Statistical Information Layers 13
Mooring and Mark Audit Status Layers 13
Introduction
MAST-GIS is an online web mapping application designed for Marine and Safety Tasmania by Insight GIS. It contains the ability to view various marine assets such as moorings, nav aids and marine leases and marks. It also contains many other powerful features such as the ability to upload shapes drawn on the website, the ability to upload and view notes, feature attributes, search and query function, export to image or PDF, mail merge and the ability to track feature statuses.
MAST-GIS was initially developed in 2016, however work on the app has continued through to the current year of 2020.
Overview
The purpose of this document is to outline in detail the various functions of MAST-GIS and explain how to use them, giving the reader a complete overview of how to get the most out of the MAST-GIS application.
This document was written by Insight GIS at the request of Marine and Safety Tasmania.
Sign in to MAST Geographic Information System
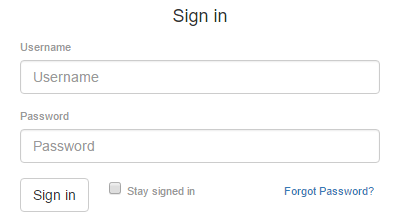
To sign into MAST GIS click on the Sign in button on the navigation bar this will open the sign in form.

Insert your account username and password and click sign in.
Change your password
To change your password:
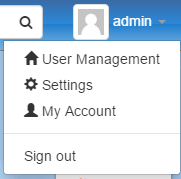
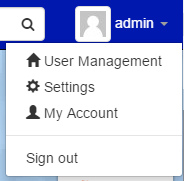
- Go to My Account from the user dropdown.

- Enter your current password.
- Enter a new password and confirm your new password.
Note: It is recommend that you update your password on your first login.
Sign out
To sign out of MAST GIS select Sign out from the user dropdown.
Recover your password
To recover a forgotten password, contact your MAST GIS administrator. Your administrator will be able to reset your password in the admin panel.
You can also reset your password yourself by following the steps below:
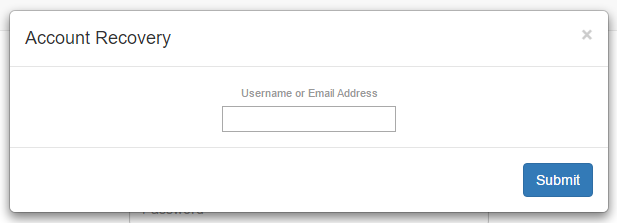
- Select Forgot Password in the login form to bring up the Account Recovery dialog box.
- Enter your username or email address that is linked to the account.
- Select Submit
Once the request is submitted, an email will be sent to you Email with instructions on how to recover your password.
User Levels
There are 4 user levels in use in MAST-GIS:
- Guest/Unauthenticated user
- Contractor user
- Administrator user
- Staff user
The guest user has access to the least amount of functionality and can only browse the map and get limited details about Nav Aids.
The contractor user can additionally perform some queries, has access to the default sketch layers, and can get limited attribute information for moorings and marine farm leases.
The admin user has full access to all MAST functions.
The staff user is similar to the admin user but has slightly reduced functionality.
Toolbar Functions

Figure. MAST GIS Toolbar
Tool Name | Icon | Function |
Pan | Use Pan to drag the map. | |
Select | Use Select to select a single mooring from the map. | |
Rectangle Select | Use Rectangle Select to select a group of moorings from the map. | |
Unselect | Discard the current selection. | |
Info Tool | Use Info Tool to get information about a single mooring on the map. | |
Ruler | Measure the distance between two or more points on the map. | |
Zoom In | Zoom into an area on the map by dragging a box. | |
Change Map View | Open a dialog which enables users to manually change the map zoom level and / or the map centre coordinates. | |
Draw Boat Radius Sequence | Generate boat radiuses. | |
Clear Boat Radius Sequence | Clear all boat radiuses from the map. | |
Display Invalid Moorings | Show a list of invalid moorings of one or more bays. | |
Import | Import a GIS layer in .ZIP format and overlay the layer on the map. The GIS layer must be in shapefile (.shp) format and all the files associated with the layer must be in a single zip file. | |
Export | Save As Image – Output the map as an image file. Save As PDF – Output the map as a pdf file. | |
Mail Merge | Output a mail merge file on the selected moorings. The mail merge file contains the mooring owners’ details. You must have one or more moorings in selection to perform this operation. | |
Sketch | Draw annotations on the map | |
Status | Save Status Layer – Save a status layer Load Status Layer – Load a status layer Clear Status Layer – Remove the loaded status layer from the map Export Status Layer – Download a CSV file with status layer details Status Summary Report – Download a CSV report including statistics on status layer |


Searching for a location
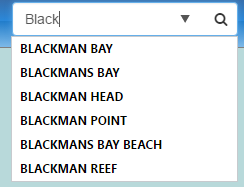
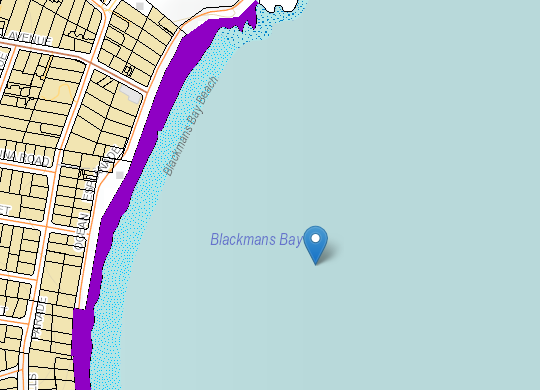
To Search for a location by Name type the name of the location in the location search bar then press Enter to search. The map will centre on the location if it is found.
Info Tool
The Info Tool can be used to get information about moorings, nav aids, marine leases and marks and Cadastral Parcels, when selecting a Mooring you will be show details about the owner, location and boat that are registered to use the mooring. If you are an admin user, you will also be able to select nav aids and marine marks to see detailed information about these. Admin users can also click on Cadastral Parcels and see the Owner and Owners address of these Parcels.
To use the Info Tool, select the Info Tool button on the toolbar.
Querying
Querying lets you search for a Mooring by either its Registration Number or the Owners Name.
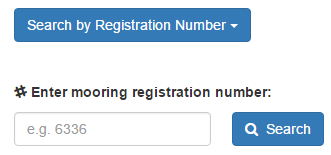
Search by Registration Number
To find a mooring by its Registration Number enter the mooring registration number into the text box on the Query tab located in the info panel and click Search. The information for the mooring will be shown in the info panel and the map will be centred over the Mooring.
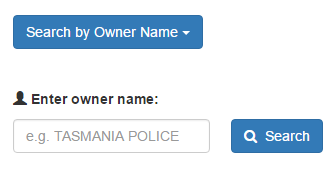
Search by owner name
Searching for a Mooring by its Owner works in a similar way apart from you must first select Search by Owner Name from the drop-down menu at the top of the Query panel.
You can search by using the owner’s full name or a substring of the owner’s full name, e.g. “TASMANIA POLICE” or “POLICE”.
If there are multiple moorings with the same owner or registration number you will be presented with a list of results to choose from.
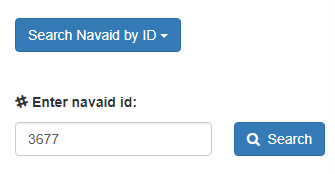
Search by Nav Aid ID
You can search for a nav aid by selecting ‘Search Navaid by ID’ from the dropdown list and entering its ID.
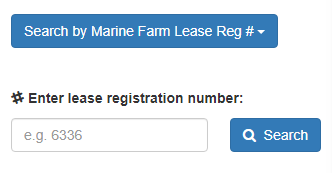
Search by Marine Farm Lease Reg #
You can search for a marine farm lease by registration number by selecting ‘Search by Marine Farm Lease Reg #’ and entering the lease registration number.
Sketch
The sketch feature enables users to view, create and edit annotations on the map.
File Format
In MAST GIS, the sketch files are stored in shapefile (.shp) format.
Shapefiles store objects of different geometry types (e.g. points, polylines, polygons) into separate layers. Because a sketch might consist of several layers, each with objects of different object types these files must be zipped into a single zip file.
Viewing sketches
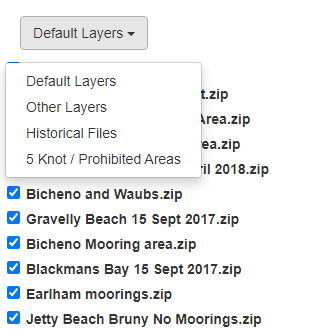
To view a Sketch, go to the Catalogue tab on the Sketch tab, you will see all the layers within the sketch repository. There is a drop down list which contains 4 different sections that can be accessed by clicking on the entry in the drop down list. Under the Default Layers section is a list of sketch files that will always be show when the map is first loaded. The Other Layers tab shows a list of sketch files which can be turned on if required. Furthermore, Historical Files and 5 Knot / Prohibited Areas show other sketches that can be turned on if required.
Creating a new sketch
To create a new Sketch go to Sketch > Edit and select Start a New Sketch.
You will be asked to name the new sketch.
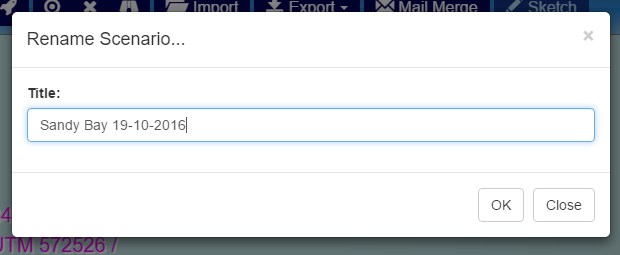
It is possible to rename the sketch at a later stage by selecting the Rename button.

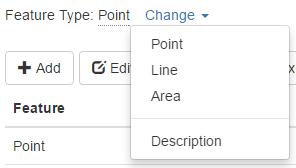
Drawing a feature
Once a sketch has been created, you can start drawing. First, make sure you have the correct object type selected, the default object type is Point. You can change to another object type (e.g. Line, Area, Description) by clicking the Change dropdown button.
Select the Add button to draw a new feature.

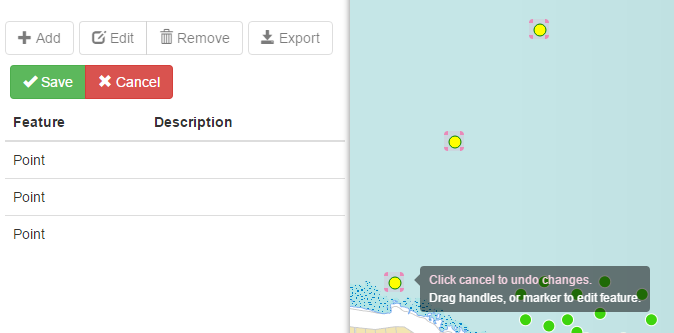
Editing a feature
Selecting the Edit button to edit a drawn feature.

Once you have finished editing, select Save to commit the changes. Select Cancel to revert the changes.
Saving a sketch
You can download the sketch to your local disk for later use. The download file is in zipped shapefile format and can be published to the sketch files repository so other power users can access it. The file can also be imported into the MAST GIS application for further editing.
To save a sketch, select the Export button, the file will be download to your local disk.

Modifying existing sketches
To Modify and existing Sketch go to Sketch > Edit. Open and make modifications to an existing sketch by using the Import function.

You will be prompted to locate the sketch file on your local disk and upload it before you can edit it.
Publishing a sketch
All sketch files are stored under the sketch repository which is located at /home/ubuntu/mast-gis/src/data on the server.
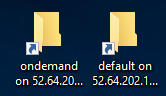
To make a sketch file available on the MAST GIS application, you must upload the file to the repository. Within the repository, there are 4 folders: default, ondemand, historic and prohibited. The folders control what section the file will belong to and whether the file will be turned on by default when the application is loaded.
Place a sketch file into the default folder if it needs to be opened and visible on the map by default. Otherwise, place the sketch file into the ondemand folder for users to overlay and view in an on demand manner.
Additional Features
Location Tracking
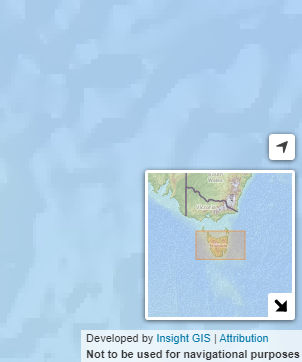
MAST-GIS can track your location using device GPS or other on-device location tracking techniques. To toggle location tracking on and off click the top right icon above the mini map in the bottom right corner of the page.
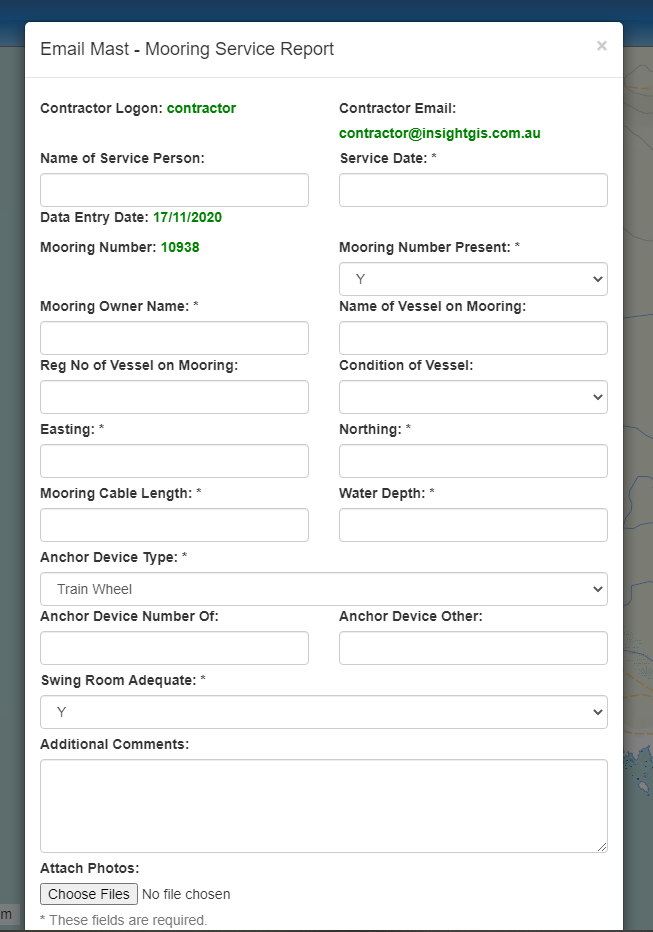
Email Owner
All users except guests can bring up a form to provide an email to MAST by clicking on or searching for a mooring and bringing up the information panel. The Email MAST button is located at the top of the information panel.

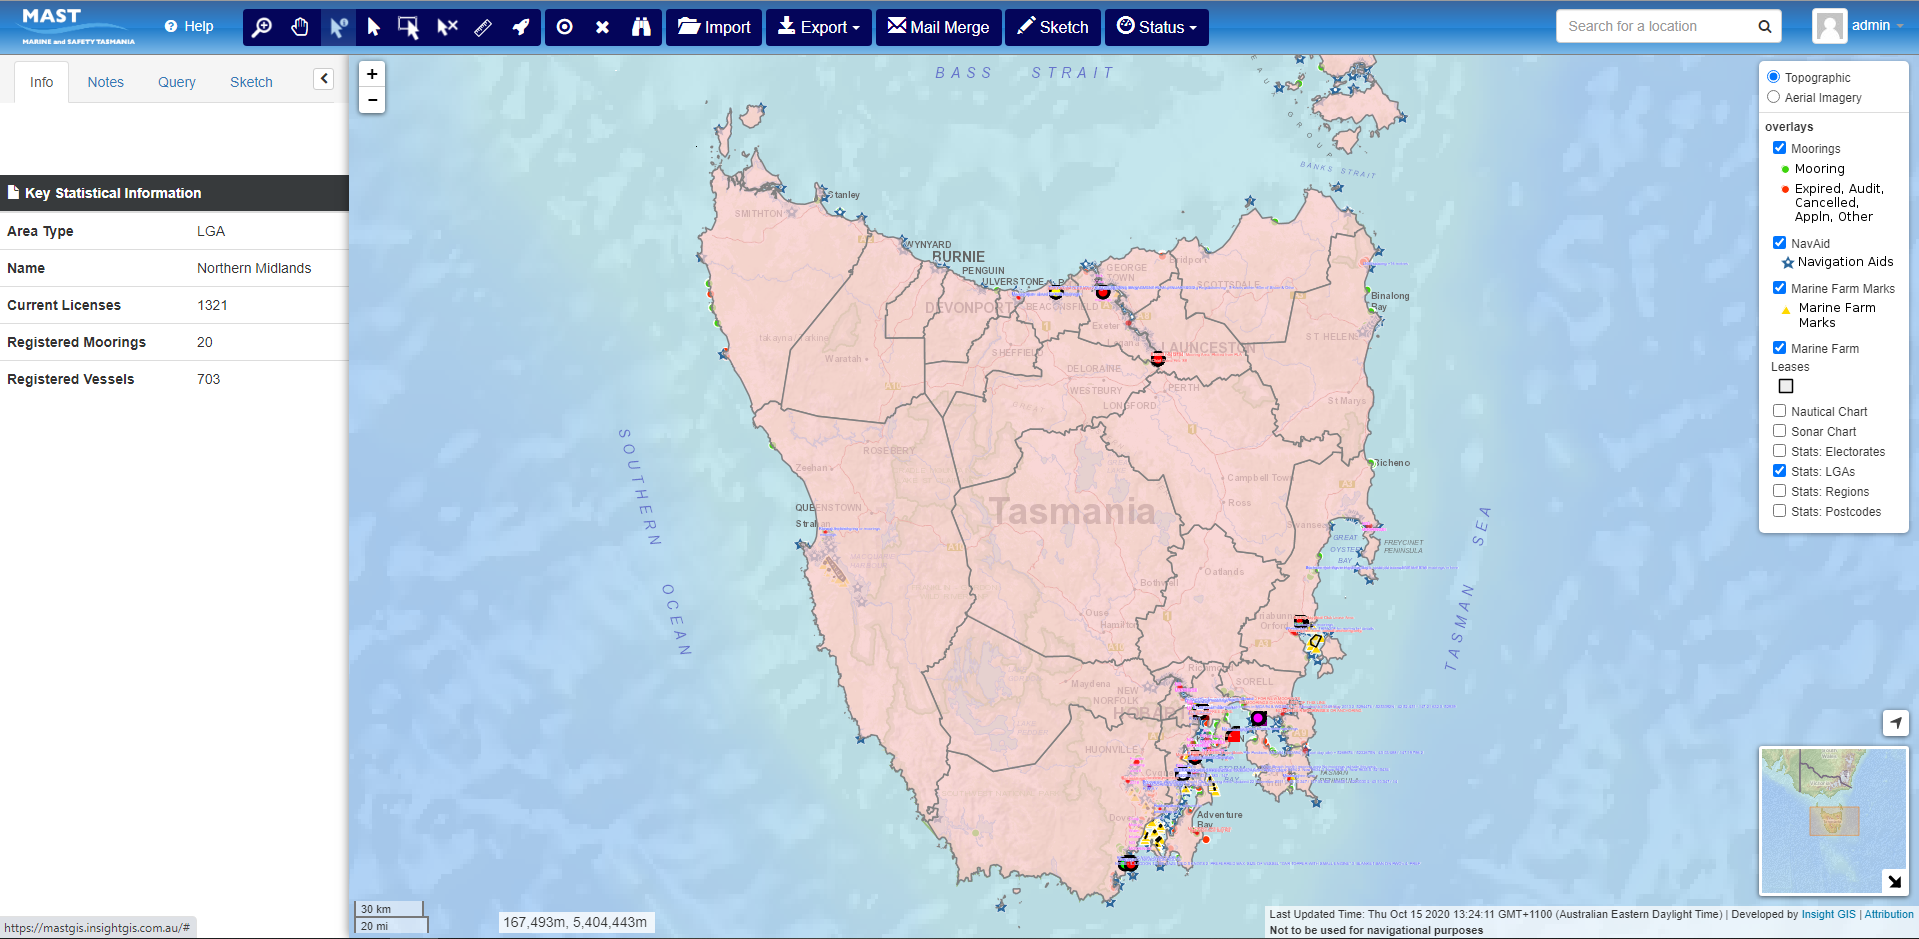
Key Statistical Information Layers
MAST-GIS provides some statistical information about MAST in the form of some layers on the map. Statistics are broken down into region, LGA, Electorates and Postcodes. Statistics layers can be turned on and off via the legend in the top right on the page.
Mooring and Mark Audit Status Layers
Mooring and marks can be assigned a pre-defined status by admin users by clicking on or searching for a mooring or marine farm mark, then, in the information panel, clicking the Mooring Status button. This will bring up a small dialog where the user can select a status to assign to the mooring or mark.
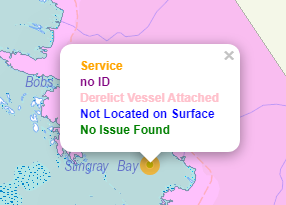
Once the status is assigned the mooring or mark will change colour to reflect the status that has been assigned.
If the user selects the mooring or mark again the status is displayed in the information panel.
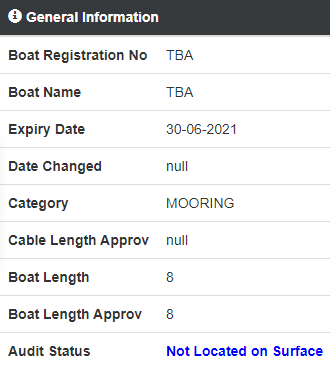
Once a status has been assigned to a mooring or mark, bringing up the information panel shows several new buttons relating to status functionality.
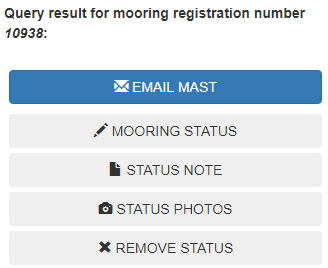
The mooring status button is used to change the status of the mooring.
The status note button is used to add a note to the status record.
The status photo button is used to view and add photos to the status record.
The remove status button is used to remove the status from the status layer.
It is important to save statuses to a status layer frequently by using the toolbar option to prevent them being lost when the page is refreshed or reloaded for example.
User Management
You will need to sign in as an administrator to perform any user management tasks.
Creating a New User
To add a new user to the system, follow these steps:
- Go to User Management and select Users.
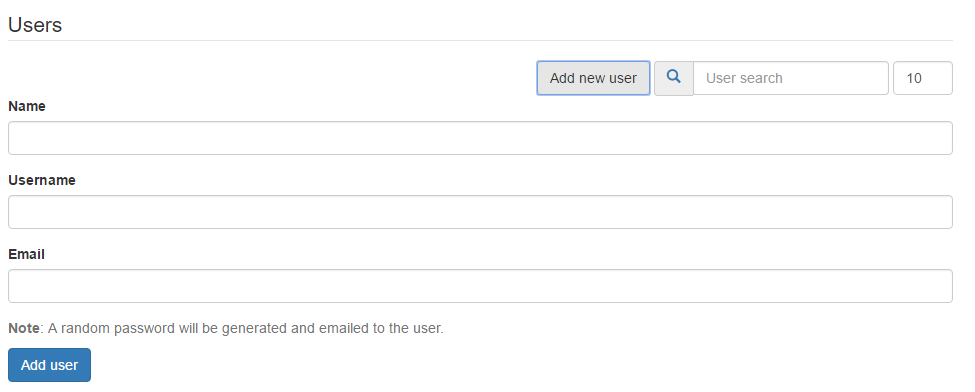
- Select Add new user to open the new user registration form.
- Fill in the Name, Username and Email for the new user.
- Click on the Add user button to complete.
A new user has been created. A system generated password will be sent to the user email address. It is recommend that the password to be changed on first log in.
Deleting a User
To remove a user from the system, follow these steps:
- Go to User Management and select Users.
- Select the user to be deleted.
- Check the Delete user checkbox

- Select Update user to proceed.
Changing a user password
To update a user password by folloing these steps:
- Go to User Management and select Users.
- Select the user to update the password on.
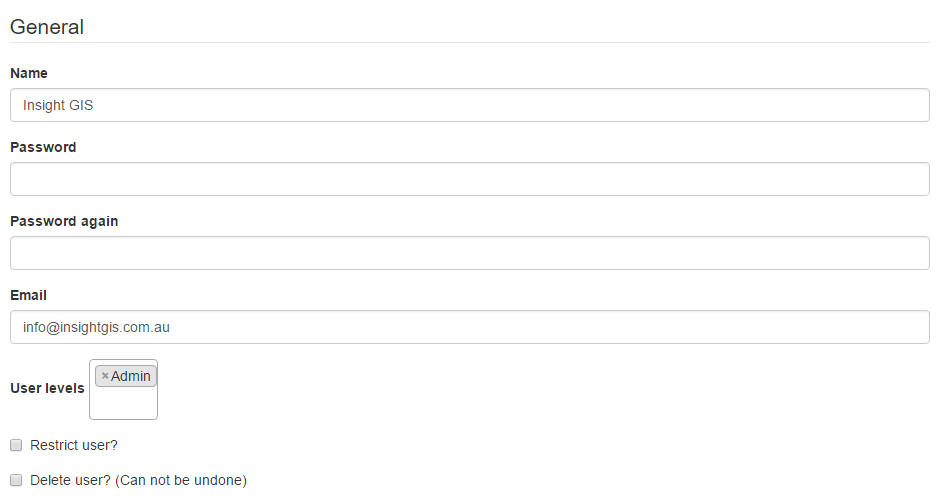
- In the Password field, type in the new password. Insert the new password again in the Password again field to confirm.
- Select Update user to proceed
Changing a user level
To update a user level follow these steps:
- Go to User Management and select Users.
- Select the user to update the user level on.
- Click the User Levels drop down list.
- Select the user level you wish to grant to the user.
- Select Update user to proceed